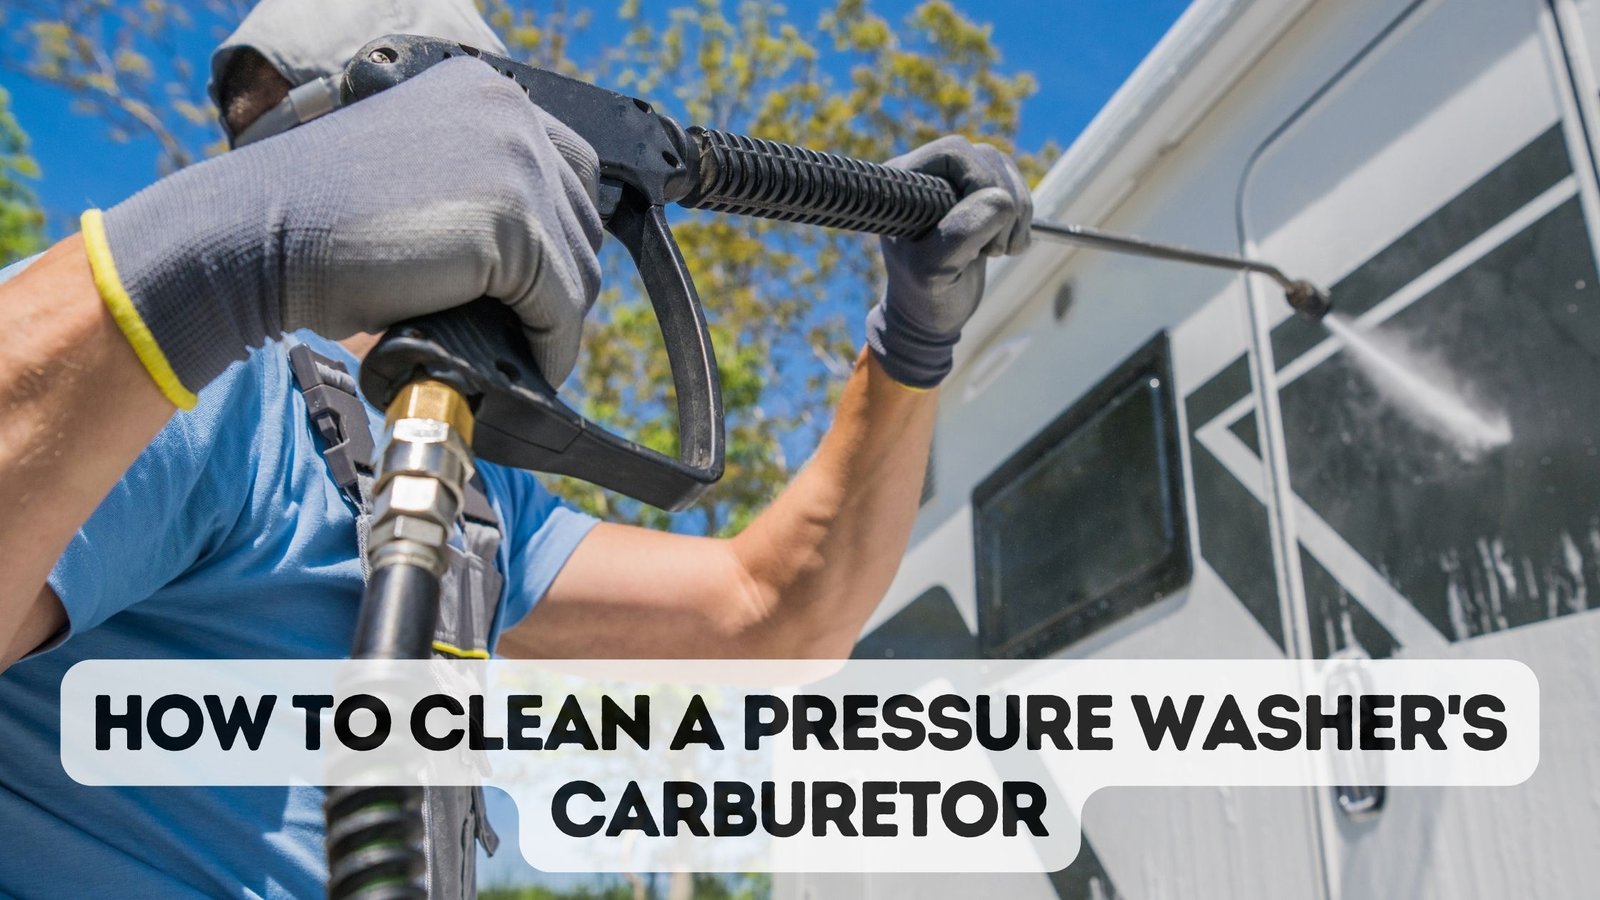
When cleaning and reassembling carburetors, you must start with the meticulous removal process, ensuring each component is handled carefully.
You’ll need to drain the fuel and apply carburetor cleaner to achieve a thorough clean, paying special attention to those hard-to-reach areas that often get overlooked.
Inspecting for wear and tear is essential before you even consider reassembling the engine. The reassembly demands organization and precision to guarantee all connections are secure.
If you need professional help to pressure wash your Bluffton, SC home then call us today at – 877-749-6437
Want to know the key maintenance tips that will keep your carburetor performing at its best? Let’s delve into it.
Carburetor Removal Process
Ensuring the carburetor starts with taking off the filter cover and detaching the hose from the plastic cover.
Next, remove the gasket and choke lever carefully. Use needle nose pliers or vice grips to loosen the fuel hose clamp.
Once that’s done, pull out the carburetor and disconnect the links to the governor. Make sure you keep track of all the small parts you remove.
This step-by-step process guarantees you don’t damage any components or misplace anything. Handle each part with care, and remember to wear safety gloves to protect your hands.
Also Read:
How a Pressure Washer Unloader Valve Works
How To Adjust Unloader Valve On Pressure Washer?
Universal Cleaning Techniques
Universal cleaning techniques guarantee that your carburetor, whether from a Honda GX series engine or another brand, functions at its best. Begin by removing the carburetor and making sure all fuel is drained to avoid spills and hazards.
Use a carburetor cleaner and a spiral tip cleaner to meticulously clean all jets and parts, making certain every passage is clear.
Here are three crucial steps:
- Spray cleaner through all jets and passageways to break down deposits.
- Use a spiral tip cleaner to scrub away stubborn residue without damaging components.
- Inspect for wear and tear to replace any compromised parts immediately.
Always wear safety gloves and eyewear to protect yourself from chemical exposure. Proper cleaning ensures top performance and longevity of your engine.
Detailed Cleaning Instructions
To begin detailed cleaning instructions, take off any additional plastic pieces to gain full access to the carburetor. Carefully remove the jets using a spiral tip cleaner, making sure to clean each jet thoroughly.
Spray carburetor cleaner into all small orifices and passageways, ensuring no debris remains. Use a clean cloth to wipe down surfaces, avoiding any leftover cleaner. Pay special attention to the float bowl and o-ring, making sure they’re spotless. If necessary, use a fine brush for stubborn grime.
Inspect all parts for wear and tear, replacing any damaged components. Make sure everything is dry before reassembly.
Following these steps will help maintain engine performance and prevent potential issues. Your attention to detail guarantees safety and efficiency.
Reassembling the Engine
After meticulously cleaning every component, it’s time to reassemble the engine with care.
Start by making sure all parts are organized and easily accessible.
First, reconnect the carburetor to the engine, ensuring that the links to the governor are properly attached.
Next, secure the fuel hose with the clamp and reattach the choke lever and gasket.
Remember these steps:
- Reconnect the Carburetor: Confirm that the governor links are correctly positioned.
- Secure the Fuel Hose: Use the clamp to prevent leaks.
- Reattach Components: Ensure that the choke lever and gasket are fitted properly.
Double-check each connection for tightness and accuracy.
Once everything is in place, start the engine to verify it runs smoothly.
Always prioritize safety and take your time to avoid mistakes.
Maintenance Tips
Regular maintenance guarantees that your carburetor and engine run efficiently and reliably. First, check and replace the spark plug if necessary; a clean spark plug ensures good ignition. Use carburetor cleaner to remove any buildup on the spark plug.
Always fill your tank with fresh fuel and drain any old fuel after removing the carburetor to prevent varnish formation. When reassembling, take your time to make sure all parts are correctly placed to avoid future issues.
Regular inspections and cleaning will help catch problems early, reducing the risk of engine failure. By following these maintenance tips, you’ll extend the life of your equipment and make sure it operates safely and effectively.
